

Testing Multi-Accounts
In order to verify that WorkSpaces Manager can has access to multiple account’s resources, we will need to use the AWS CLI.
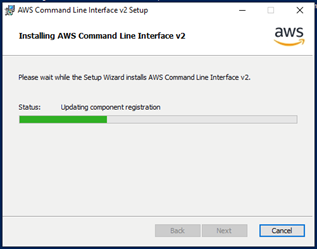
First, proceed to install AWS CLI v2 on the WorkSpaces Manager server. Process is fully defined here (https://docs.aws.amazon.com/cli/latest/userguide/getting-started-install.html). For Windows, from a Powershell session with admin rights, run:
msiexec.exe /i https://awscli.amazonaws.com/AWSCLIV2.msi
This will take 2-3 minutes to complete following the assistant:
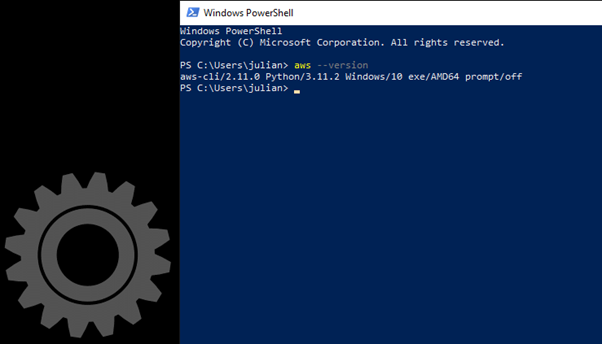
To confirm the installation, from a new command-prompt or Powershell session, run command:
aws ‑‑version
Since WorkSpaces Manager has an EC2 role assigned that grants some permissions on it, from a new Powershell Window, we will run the command:
aws s3 ls
For this to be tested on multi-accounts, we need to modify the .aws/credentials file on our profile by running command:
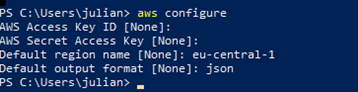
aws configure
A menu will ask for some details: AWS Access Key ID: keep blank AWS Secret Access Key: keep blank Default region name: use yours (in our case eu-central-1) Default output format: json (recommendation)
This will create a new directory called ".aws" that can be seen with the commands:
ls
cd .aws
ls
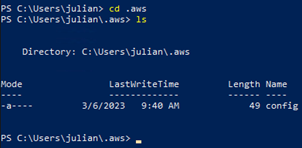
There will be a file “config” created, so we need to manually create a file called “credentials” with the command:
New-Item credentials

We will edit the file by typing the command:
notepad credentials
Which will open the text editor for us to put the following:
[default]
region = eu-central-1
output = json
[remote]
role_arn = arn:aws:iam::222222222222:role/AllowWSMAccess
credential_source = Ec2InstanceMetadata
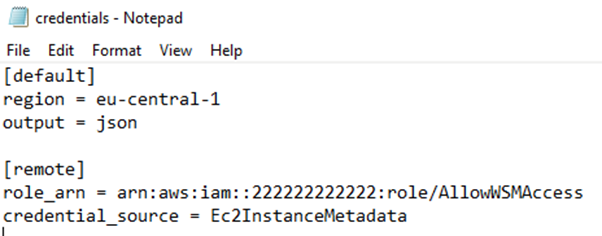
Please, note that the role ARN used is an example and it has to be changed for the real role in the secondary account to be assumed
Verify role with command:
aws sts get-caller-identity

Finally, check the permissions on the local account by running command:
aws s3 ls
And remotely:
aws s3 ls ‑‑profile remote
If you receive a message that role could not be assumed, you need to verify the steps to assure that all is properly configured.
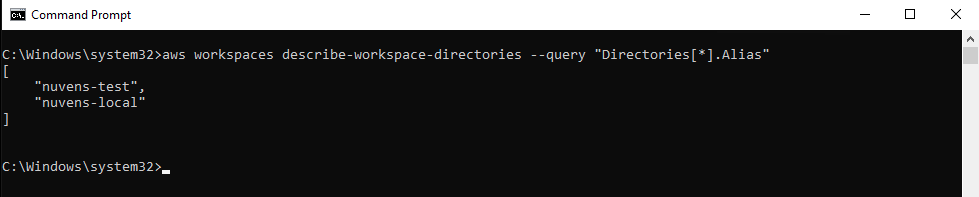
It is important to make sure that you also have visibility of Directories and networks on the remote account. Verify it by running the command:
aws workspaces describe-workspace-directories --query "Directories[*].Alias" --profile remote
Some other useful commands that can be helpful to verify that connection to remote AWS Accounts assuming roles are:
List WorkSpaces in a table format (please, use the right region):

List KMS keys ARNs:

List VPCs and CIDRs associated to them:

List CloudWatch Log Groups and, afterwards, try to list the last 3 entries:


Last updated